- Introductory components
- Installing the CPU & memory
- Casing & installing the motherboard (aka mobo)
- Graphics, soundcard & add-on cards
- Internal & external media drives installation
- Cabling, PSU, case LED lights & power button
- Additional cabling for output ports
- Finishing touches, power on self test (POST) & BIOS
- Operating system installation (Win XP)
Internal and external media drives installation
This part now talks about the installation of your internal & external media drives, this includes your CD/DVD-Rom drive as well as your hard disk drives.
Preparing to install
First off, for most cases, it is always common to have the larger 5.25″ bays (for mostly cd-media drives) ontop of the 3.5″ bays (for floppy and hard disk drives), this is better as most ATA cables (which connects to your harddisk) are generally shorter than that of other IDE cables which connects to your external media drives, though longer ones can be always purhased at any local hardware store.
Also, generally, the way you install the drives on your computer depends greatly on the design and features it have (eg, availability of rack rails, drives cages, etc) and it differs from one type of casings to the other. Brands like Cheiftec, Lian-Li, Antec and Thermaltake are better case makers out there and have better installation features.
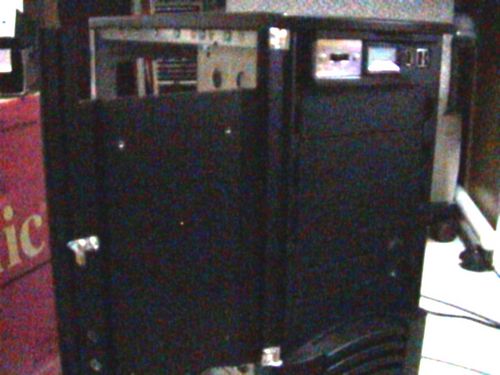
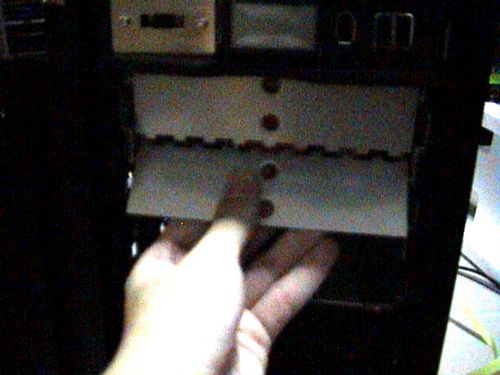
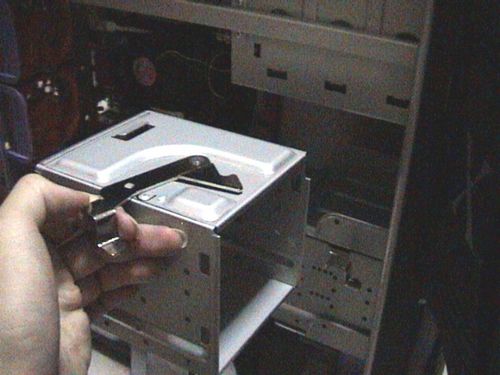
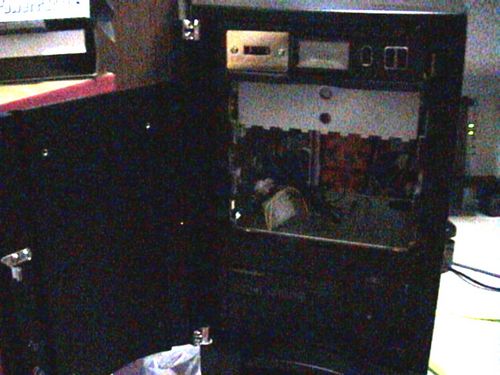
On the casing I am using(Fig 5.1), we can see that all bays all are covered by a a sealing plastic cover. To remove these covers, just release the locking hatches behind them through the interior of the casing. Some case manufactures like thermaltake also have pre-casted steel protection plates behind the covers (Fig 5.2), and can be easily removed with some simple twisting motion (similar to that of removing pieces from plastic model kits)
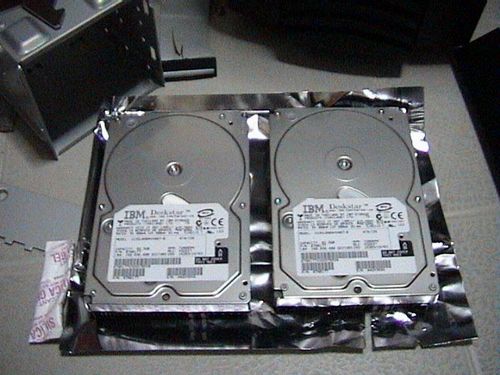
With all that done, lets prepare the drives themselves. Harddisk these days come with 2 types of connectors for mainstream computers- SATA and PATA, generally SATA is an improvement of parallel ATA or P-ATA for short, it rated at ATA-100/133 while SATA can go up to ATA-150. Nafive to PATA drives is the need of the trademark IDE ribbon cable which in turn requires jumpers to be set properly on the integrated drive electronics (SATA harddisks do not have jumpers).
Drive jumpers
Ok, onto the jumpers, jumper configuration differs from drive to drive, and luckily, almost all manufacturers have the jumper settings printed onto the drives themselves. These are usually located at the back of the drive where the connector pins are, look for a sticker stating the position and orientation fo the jumpers to set the respective MASTER or SLAVE option, it;s fairly straightforward. Usually upon purchasing a drive, it is usually set to the MASTER setting by default.
If you intend to install a second drive using that same motherboard slot, the 2nd drive must be set to the SLAVE jumper setting in order to function. You have to remove the jumper and rearrange it in accordance of the set up diagram provided by your manufacturer. To remove jumpers use a screwdriver (or alternative sharp object), gently lift the jumper out of the pin slot and later, place it back in the defined SLAVE setting.
Internal hard drives
I am intending to use two hard drives for this system. As stated, this casing have removable hard drive cages, which makes installation easier by mounting drives out of the system and locking the cage back in when done, thus no need to cramp within the confined boundaries of the interior and securing in the hard disk to metal frames internally. Some cases have a better evolved system where you can simply just slide the drive into bays already made for hard disks and simply just click them into place without tools, so it varies between manufacturers. If your system have no cage feature, don’t fret, just follow on the review on installation, only that you have to do it within the fixed bays in your casing.
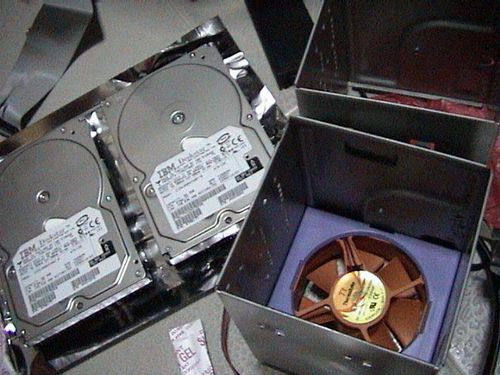
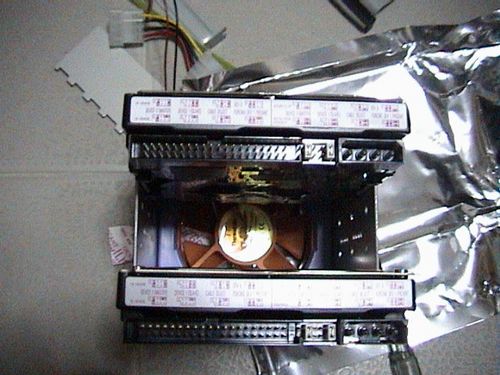
As we can see below, thermal take has included a single cooling fan in one of the harddrive cages (Fig 5.3) which can accommodate 3 hard disks. These drives can run pretty how after sometime, so the general tip here is to install the drives in a manner which allows the maximum airflow on either side of the drive. If you are installing one hard disk, it would be ideal to install it in the center of the cage, where air blowing from the fan can flow both above and below it, thus providing better and more effective cooling. For 2 drives, one would go on the top while the other, at the extreme bottom of the 3 available mounting places, (Fig 5.4) where airflow is still possible between them.
I have no intentions to do a water-cooled system on this computer so fans would do great at the moment, anyway I find water-cooling your harddisk enclosures bit of an overkill as you can’t actually “overclock” these babies, and why should you?
External CD-media drives
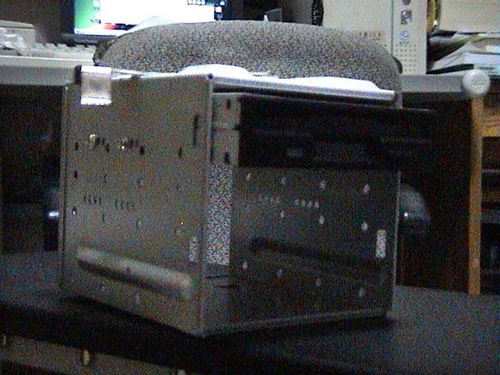
Removing the 2nd 3.5″ harddrive cage (fig 5.5), this is where you can install additional hard disk or any 3.5″ external drives such as a floppy drive or a multi-card reader, in this case, it would be used to hold my floppy disk drive.
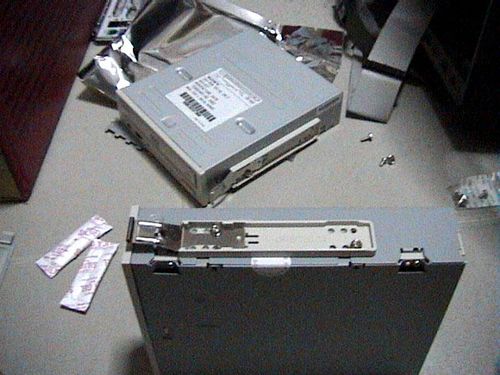
Now to install the DVD and CD drives, we focus our attention to the 5.25″ drive bays above. With front the metal plates removed on fig 5.6, time to install them.
The 5.25″ drive bays are little different from the 3.5″ cage, the casing employs Chieftec rails to rack mount the bay drives, which are stored within the casing itself to prevent misplacement. Before happily screwing in the rails, you have to locate the right depth alignment of your rails and your drive, or your drives will either stick too far out, or too shallow of the casing. You need a little trail and error for this.
While holding the rails beside the drive, test-slot the drive into your casing to locate the rail holes where the screws go in nicely on to your drive, remove it and secure the rails onto the drive with respect to those holes themselves. Do so for all drives you intend to install and just slot them into any 5.25″ bay slot you seem fit.

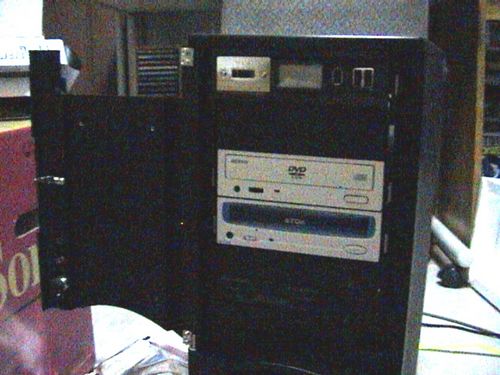
After you are done, the drives can be removed without tools by simply unlocking the rail clips and sliding the drive out. Perfect for quick drive swaps. With all drives done now to it’s time to wire them all out.
- Introductory components
- Installing the CPU & memory
- Casing & installing the motherboard (aka mobo)
- Graphics, soundcard & add-on cards
- Internal & external media drives installation
- Cabling, PSU, case LED lights & power button
- Additional cabling for output ports
- Finishing touches, power on self test (POST) & BIOS
- Operating system installation (Win XP)