- First impressions, Installing RAM & the addon cards
- About the heatsink. installing the CPU
- Installing CD-ROM & Harddrive. Wrapping & booting up
Installing the CPU, some interesting parts
A small confined case requires some careful space management for components, also considering that regular parts do not fit well in such a small case. One of the most interesting and unique outstanding features of the case is the integrated cooling technology which amazing cool, quiet and stable as claimed by Creative, though this case is still largely a branded OEM case.
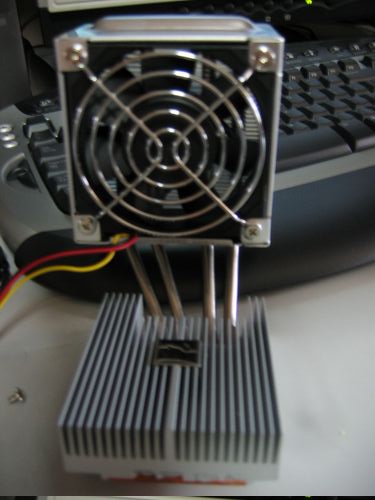
The unique heat sink works by transmitting heat emitted from the CPU through the heat pipes, which works as a heat transfer agent which then transfer the heat to from the CPU to the heat sink & single exhaust fan, located at the back of the casing. The fan also doubles as a case ventilation fan. so its very much dual purpose, a rather ingenious design.
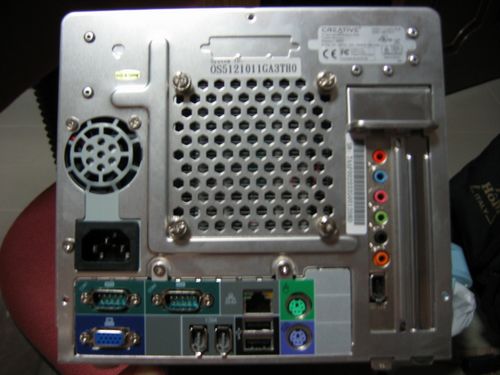
On the back of the casing (Fig 5.0) we have the mini PSU on the left the large fan exhaust vent at the center, add-on card slots to the right I/O ports are located at the bottom as the motherboard is placed in flat and secured on the bottom of the case.
Installing the processor
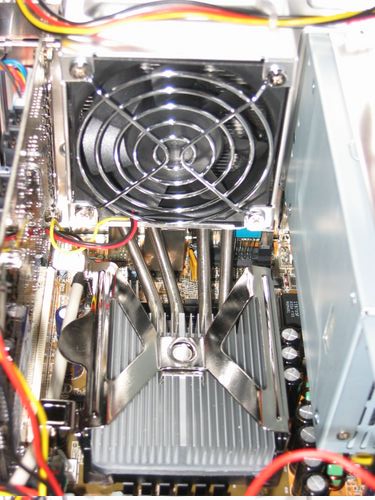
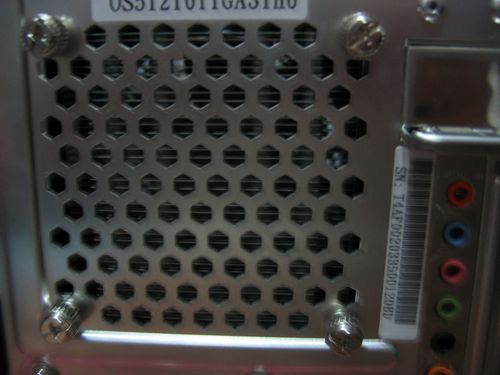
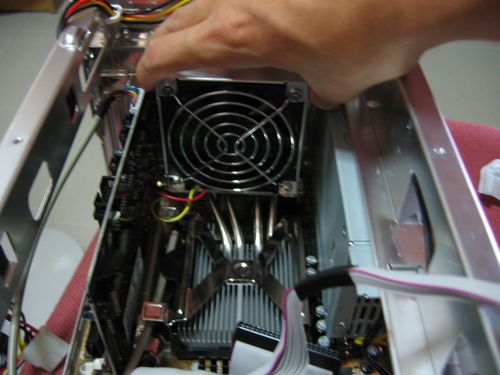
To being the installation of the CPU, the heat sink must first be removed, this is unlike normal fans & heat sinks & we must first remove the ventilation fan by unscrewing the locking screws found on the back of the case (Fig 5.0 & closeup at Fig 6.0). Then we will have only an L-shaped component with 2 heat sinks on either end still attached.
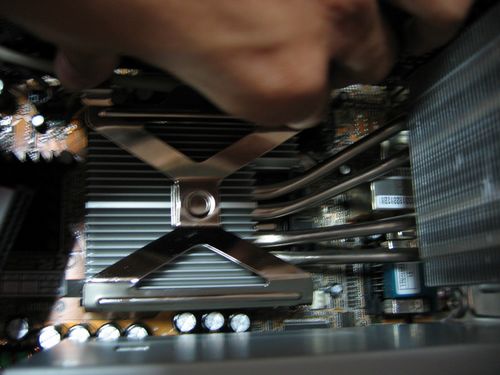
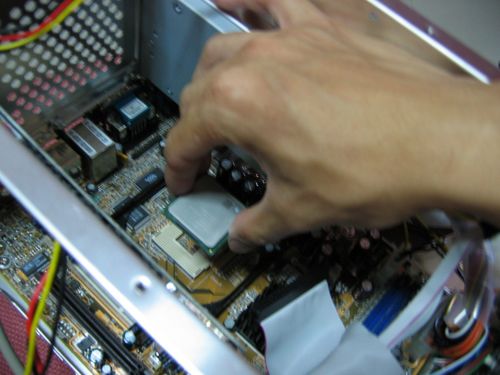
To remove the heat sink from the processor bed, start by holding onto the edge of the X like clamp securing the heat sink with 2 index fingers press downward gently to release the X clip & eventually lift the edges outwards to remove the clip completely from the edge lock (Fig 6.1).
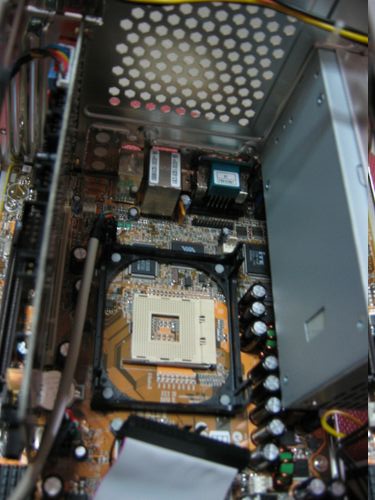
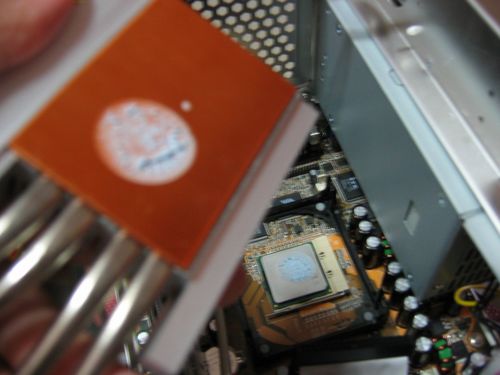
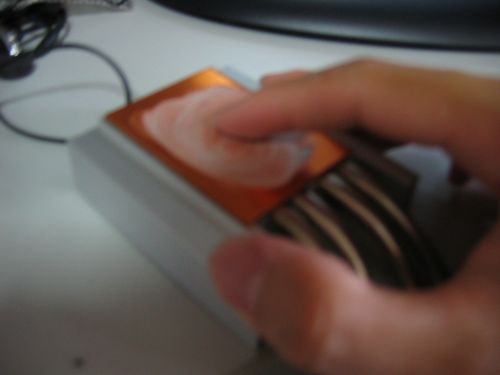
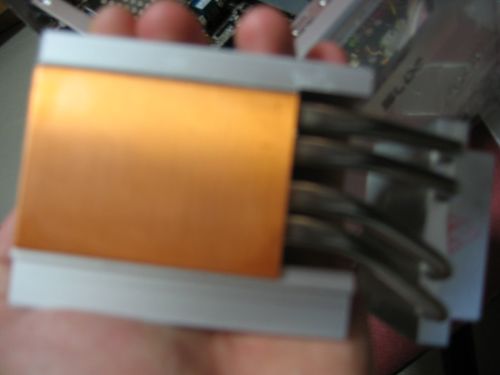
At this time the the processor heatsink can be taken out completely (Fig 7.0) from the case itself. The photo on the left shows the whole cooling assembly and the right the socket to insert your regular PC processor.
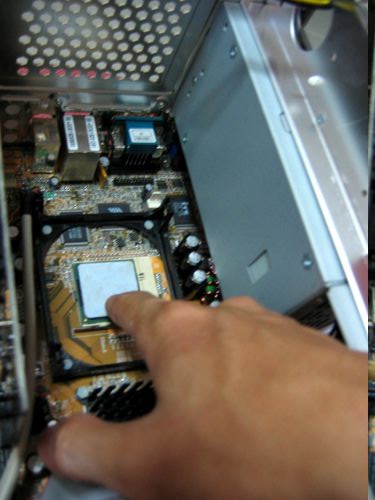
The base of the processor-side heat sink can be identified by the copper red heat absorbent surface (Fig 8.0). We begin first by placing in the processor on the processor bed after raising the locking lever. Do not use excessive force on when doing this. For Pentuim4 478-pin processors all you need to do is just to align the processor’s cut edge (top right) where its lacks one pin & see whether it teles on the processor bed side. Just gently drop the processor on the bed & secure it using the locking lever.
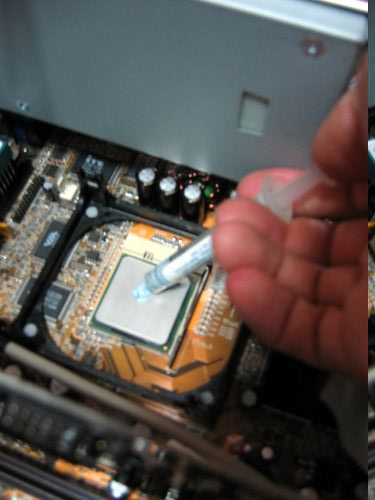
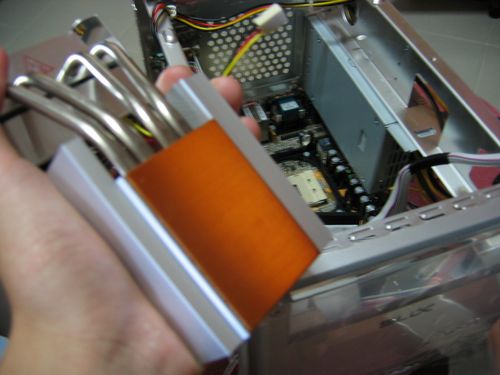
Thermal paste must be applied thereafter, you can use the included/supplied paste which in my case, Creative had supplied, in my case I am using Nanotherm Blue II in this tutorial. To effectively apply thermal paste for maximum heat dissipation, apply one blob of thermal past eon the processor. Next take the L-head sink & sandwich the copper side onto the processor, the result is having both thermal paste on both the heat sink & processor.
Using a clean finger of one wrapped in plastic, rub the smeared thermal paste on the copper surface, applying constant downward pressure & spreading it round where the processor would come in contact with the heatsink. after that, using a clean tissue or cloth, wipe the excessive paste of cleanly, the result is a more dull copper surface this is so as the paste now fills the inner micro crevices of the copper surface.
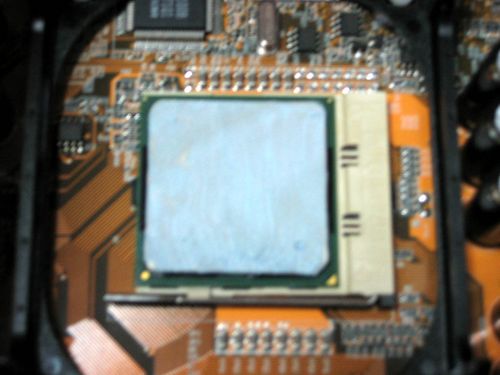
Now spread the thermal paste you’ve previously applied on the processor till you achieve a nice thin layer only on the processor surface (Fig 11.1). Use a razor or card to scrape away excess paste which overflow out of the processor edges. There you are done with the application part, now it’s time to assemble the heat sink back into the case.
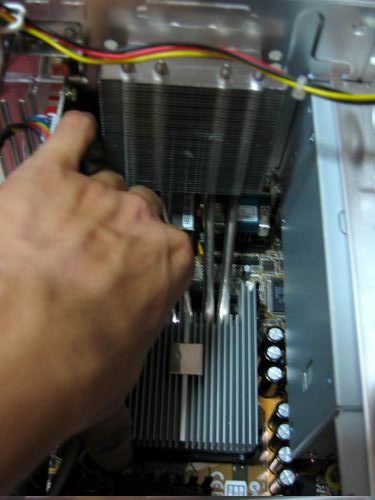
With that done, slowly lower the heat sink back onto the processor, secure the X locking clip. Thereafter return the cooling fan & secure it back using the 4 back screws. With the critical parts in place, now it’s time to install the add on cards and media drives, such as DVD or blu-ray drives.
- First impressions, Installing RAM & the addon cards
- About the heatsink. installing the CPU
- Installing CD-ROM & Harddrive. Wrapping & booting up